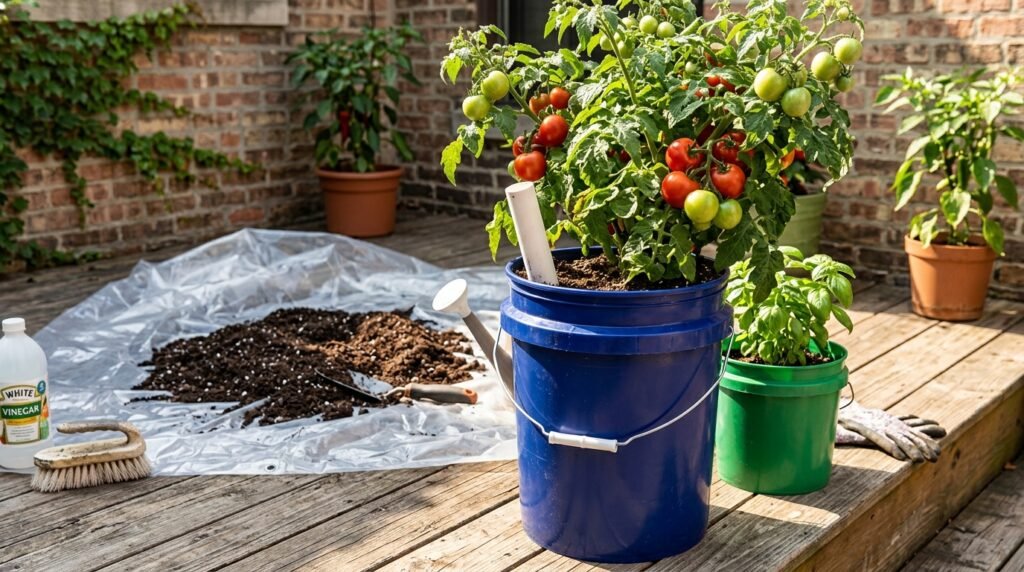
Portland summers get surprisingly hot and bake a south-facing balcony very quickly. I used to run outside twice a day just to save my wilting patio tomatoes. My cheap eight dollar trowel and basic plastic pots could not keep up with the intense afternoon sun. I knew I needed a better system to keep my plants alive while I worked my day job. Learning how to set up a self-watering container garden solved this massive watering problem immediately. You can construct a highly effective watering system using two cheap plastic buckets from the local hardware store.
The science behind a self-watering container garden
These systems rely entirely on a simple biological process called capillary action. The plant roots pull moisture up from a hidden water reservoir located at the very bottom of the bucket. A physical barrier separates the heavy potting dirt from the standing water below. This plastic barrier prevents the roots from drowning and rotting in the mud.
Standard pots drain excess moisture straight out the bottom and onto your concrete patio. A reservoir system catches that excess water and saves it for a hot afternoon. You only need to refill the bottom chamber every few days instead of watering every single morning. This gives you total freedom to leave your apartment for a weekend trip without your plants dying.
Avoiding the daily watering grind
Consistent moisture creates incredibly strong and productive vegetable plants. Plants experience massive physical stress when their dirt swings from soaking wet to bone dry every single day. The hidden reservoir provides a steady, even supply of hydration directly to the root tips.
Blossom end rot ruins tomatoes when the plant lacks consistent water to move calcium up the main stem. This stable watering method eliminates those frustrating yield issues completely. Your plants focus entirely on producing massive fruit rather than fighting for basic survival.
Gathering materials for a self-watering container garden
You do not need expensive commercial planters to achieve perfect soil moisture on your patio. You just need two identical five gallon plastic buckets to create the main housing. Grab a sturdy plastic deli cup to act as the wicking chamber and a short length of PVC pipe. This entire DIY project costs less than ten dollars per completed unit.
Always check the bottom of your plastic buckets for the recycling triangle symbol. You want containers marked with a number two to ensure they use food grade plastic. Restaurant supply stores and local bakeries often give these exact buckets away for free. A quick wash with warm soapy water prepares them perfectly for your balcony farm.
Cutting your plastic pipe to size
You need a way to pour water down into the hidden bottom reservoir once the buckets are stacked. A piece of one inch PVC pipe works perfectly as your dedicated watering chute. Cut the pipe so it stands about three inches taller than the top rim of your bucket.
Cutting the pipe with a simple hacksaw takes about thirty seconds on a sturdy table. Angle the bottom cut of the pipe slightly so water flows out easily when it hits the plastic floor of the bucket. A flat cut might seal itself against the bottom floor and trap the water inside the tube.
Building the base of your self-watering container garden
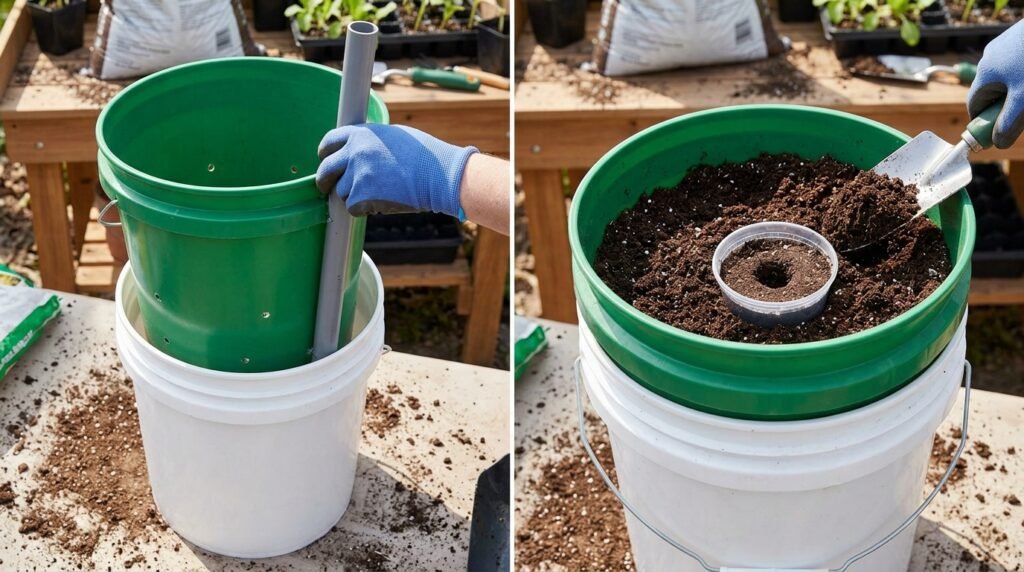
Take your first bucket and drill dozens of small holes completely through the bottom plastic floor. This becomes the inner planting bucket that holds your vegetable roots. Drill one large hole directly in the center to fit your plastic wicking cup. Drill another medium hole near the outer edge to fit your PVC watering tube.
The wicking cup acts as the vital bridge connecting the dry soil to the wet reservoir. Drill several holes in the sides of your sturdy plastic deli cup and wedge it tightly into the large center hole. When you fill the top bucket, you must pack this plastic cup tightly with damp potting mix. This packed dirt acts exactly like a kitchen sponge and pulls water straight up into the main root zone.
Setting the crucial overflow drainage hole
Place your drilled inner bucket inside the solid outer bucket. Measure exactly where the bottom of the inner bucket sits. Drill a single overflow hole through the side of the solid outer bucket just below that specific line.
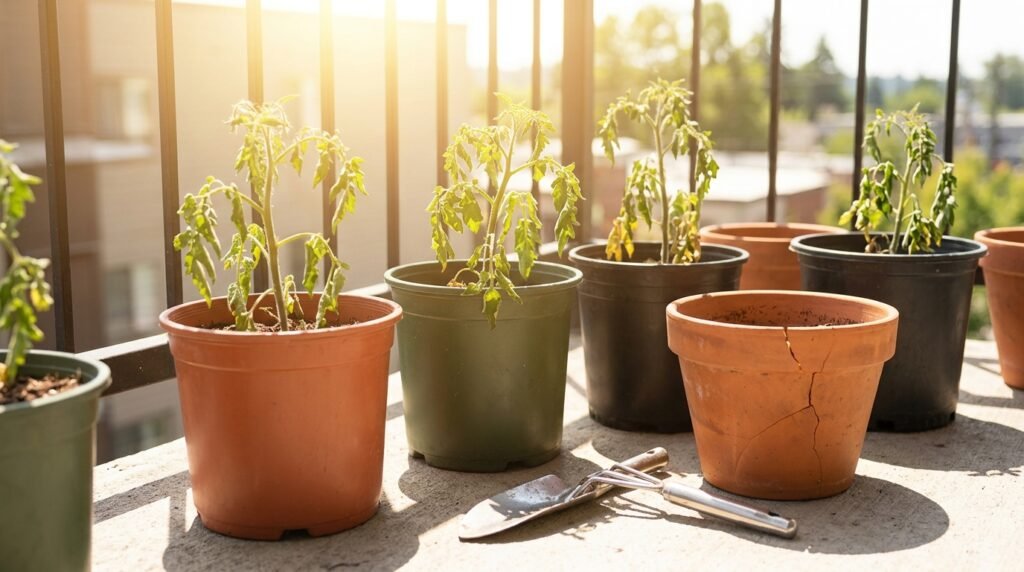
Finding out why your seedlings are dying and how to save them often reveals a flooded root zone. This single drainage hole prevents total crop failure by allowing excess rain to escape. The water level can never rise high enough to drown the actual dirt chamber.
Selecting the best dirt for a self-watering container garden
Heavy ground dirt completely fails inside these specific capillary systems. Dense topsoil compacts quickly and refuses to pull moisture upward from the bottom reservoir. You must use a premium lightweight potting mix designed specifically for container growing. The mix needs plenty of perlite and peat moss to keep the texture incredibly fluffy.
Dry potting mix repels water initially and breaks the capillary wicking action completely. You must dump your dirt into a large mixing bowl and stir in warm tap water until it feels like a damp sponge. Packing dry dirt into your brand new buckets guarantees the system will fail. Reviewing the best soil mix for a raised bed vegetable garden helps you understand proper moisture capacity.
Filling the buckets correctly
Slide your PVC pipe down the side hole until it touches the bottom of the solid outer bucket. Fill the plastic wicking cup with your damp potting mix and press it down very firmly. This physical compaction ensures the dirt touches the standing water below.
Continue filling the rest of the inner bucket with the damp soil mix. Do not pack the main body of soil down hard. You want the main root zone to remain loose and airy so the plants can breathe easily. Leave about two inches of empty space at the very top of the bucket.
Planting vegetables in a self-watering container garden
Dig a small hole in the center of your fluffy dirt and place your tomato or pepper seedling carefully inside. The roots take a few days to figure out how to pull moisture from the bottom reservoir. The experts at Gardening Know How advise top watering the plant manually for the first week until the roots establish themselves fully.
Pour water straight down the PVC pipe until liquid spills out of the side overflow hole. This visual cue tells you the bottom reservoir is completely full and ready to work. Check the soil surface a few hours later to confirm the capillary action actually pulled the moisture upward.
A non-obvious trick to stop patio mosquitoes
Stagnant water sitting inside the bottom reservoir creates a perfect breeding ground for annoying mosquitoes. They will fly straight down your open PVC watering pipe and lay thousands of eggs in the dark water. You will suddenly have a massive bug infestation right on your apartment balcony.
Secure a small piece of mesh window screen over the top of the PVC pipe using a tight rubber band. This simple physical barrier lets water flow downward but blocks insects from entering the reservoir entirely. It costs practically nothing and saves you from fighting itchy bug bites all summer.
Feeding crops in a self-watering container garden
A closed loop reservoir system completely changes how you must feed your patio crops. Standard liquid fertilizers will pool in the bottom water chamber and slowly burn the delicate plant roots. You need a different feeding strategy to keep your vegetables healthy and productive all summer long. The concentrated salts in liquid feeds simply have nowhere to drain out safely.
Mix a granular organic fertilizer directly into the top two inches of your potting soil before you plant. The roots will pull the required nutrients from this top layer as they grow upward and outward. You can also dig a shallow trench around the edge of the bucket and bury a ring of dry plant food. This method feeds the plant continuously without contaminating the clean water reservoir sitting below.
Covering the soil to retain nutrients
Cover the top of the soil with a thick layer of natural mulch or a dark plastic garbage bag. Cut an X in the center of the plastic to let the plant stem poke through. This cover prevents the heavy Portland rain from washing your granular fertilizer away.
It also stops the hot sun from evaporating moisture directly off the top of the dirt. Understanding how to fix overwatered plants before it is too late proves that standing water destroys root tissue rapidly. The plastic cover manages the moisture balance and protects your organic plant food simultaneously.
Managing your self-watering container garden during summer heat
Here in Oregon, the late August sun turns a concrete balcony into an absolute oven. You must monitor the water levels in your PVC pipe closely during these brutal heat waves. A mature tomato plant can easily drink an entire gallon of water on a hot afternoon.
Stick a long wooden dowel down the pipe to measure the exact depth of the standing water. If the dowel comes up dry, grab your hose immediately and refill the chamber until water spills out the side hole. Never let the bottom reservoir run completely dry or the wicking dirt will harden like concrete.
Winterizing your plastic containers
You cannot leave water sitting in the bottom reservoir when the freezing winter weather arrives. The expanding ice will crack the thick plastic buckets and destroy your hard work instantly. When the autumn frost kills your final tomato plant, dump the dirt out onto a large plastic tarp.
Pull the two buckets apart and scrub the insides with a mixture of warm water and white vinegar. The vinegar dissolves the hard mineral buildup left behind by your tap water. Stack the clean buckets in a closet or tuck them safely in a corner of your patio. Proper winter maintenance ensures your DIY setup lasts for many years of productive farming.
You do not have to accept wilted leaves and stressed plants just because you work long hours away from home. Taking control of your watering schedule makes patio farming incredibly enjoyable and highly productive. Two cheap buckets and a piece of plastic pipe give you total peace of mind during the hottest summer days. Build your own self-watering container garden this weekend and watch your vegetable yields explode.