
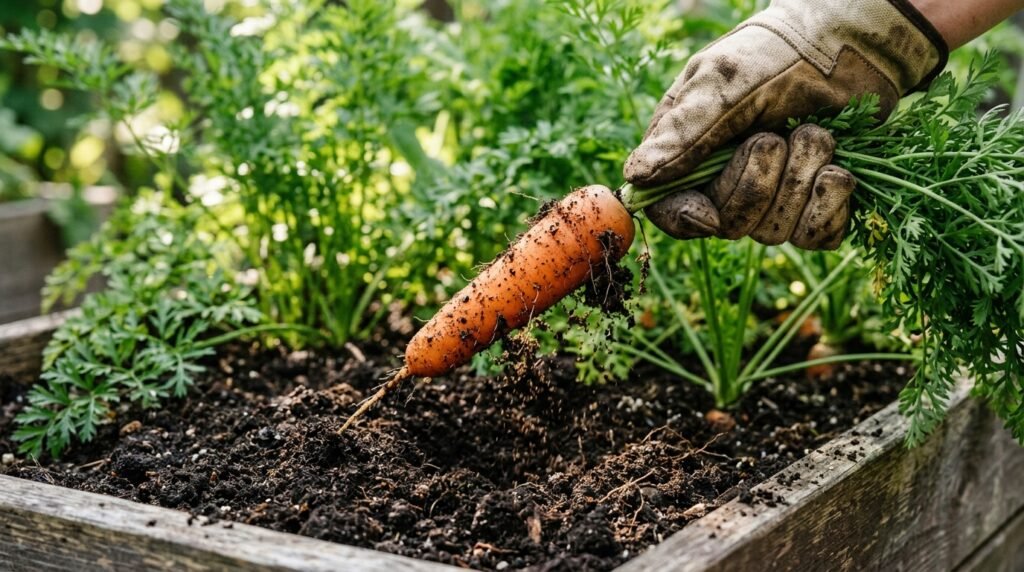
I remember pulling my very first root vegetable out of a recycled yogurt container during a wet Portland spring. I expected a long orange vegetable but pulled up a round orange golf ball instead. I learned quickly that root crops demand serious physical depth to stretch their legs properly. You must completely change your approach when moving away from fast leafy greens. You need deep buckets and incredibly loose dirt to successfully grow carrots in containers on a small patio.
Why you should grow carrots in containers this season
Planting root seeds directly into backyard ground soil usually results in twisted and forked vegetables. The tiny root tips hit small rocks or hard clay and immediately split in two different directions. You completely bypass this frustrating problem when you grow carrots in containers filled with premium potting mix. You control the exact soil texture from top to bottom.
Potted environments let you sift the dirt perfectly smooth before you plant a single seed. This guaranteed loose texture produces straight and beautiful vegetables every single time. It takes the guesswork out of root development and maximizes your overall harvest yield.

Beating common soil pests naturally
Carrot rust flies lay eggs in the damp soil and their larvae tunnel straight through your underground food. Lifting your crop off the concrete floor in a tall plastic bucket creates a massive physical barrier. The pests stay near the patio surface and completely miss your elevated harvest sitting in the pots above.
You avoid using harsh chemical pesticides when you rely on these simple physical barriers. A tall bucket keeps your vegetables clean and your patio ecosystem perfectly healthy all summer long. You spend less time fighting bugs and more time actually growing food.
Choosing the right pots to grow carrots in containers
You cannot use standard shallow window boxes for this specific deep root crop. Most classic long varieties need a minimum of twelve to fifteen inches of loose soil depth to mature safely. Standard five gallon plastic buckets from the hardware store work perfectly and cost practically nothing.
Fabric grow bags also provide an incredible alternative to hard plastic buckets. The porous fabric allows oxygen to reach the roots from all sides, which prevents the soil from turning into a soggy mess. The fabric air prunes the roots and creates a much stronger underground system.
Drill five or six large drainage holes directly into the bottom plastic of whatever hard bucket you choose. Stagnant water sitting in the bottom of the pot rots the long taproot instantly. Proper drainage saves your plants from drowning during a sudden heavy summer rainstorm.
Selecting specific short seed varieties
If you only have shallow patio pots available, you must buy specific seeds bred for tight spaces. Paris Market varieties produce round roots that look exactly like small orange radishes. These round types thrive in just six inches of potting dirt and taste incredibly sweet.
Danvers half long types stay stubby and thick at the shoulders. They handle dense soil much better than the long and skinny imperator varieties you see at the grocery store. Matching your seed variety to your physical pot depth guarantees a successful harvest.
Building the perfect fluffy dirt foundation
Heavy topsoil compacts into a hard brick after a few weeks of heavy watering. The fragile root tip cannot push through dense mud and will simply stop growing downward. You must use a premium lightweight potting mix filled with plenty of white perlite to maintain airflow.
Reviewing the best soil mix for a raised bed vegetable garden shows you exactly how to prep the dirt. Sift your mix through your bare fingers to remove any uncomposted wood chips or hard clumps of clay. Every physical obstacle in the dirt creates a crooked vegetable later.
Avoiding the heavy nitrogen mistake
Beginners often dump heavy liquid fertilizer into their buckets hoping for much faster plant growth. High nitrogen feeds force the plant to grow massive green tops but produce a tiny orange root. The vegetable actually grows hairy side roots that look terrible and taste extremely woody.
Keep your soil nutrition low and focus entirely on maintaining a loose physical texture. A tiny scoop of basic compost mixed into the bottom of the bucket provides plenty of quiet energy. The taproot will chase that compost deep into the container and grow perfectly straight.
Sowing seeds to grow carrots in containers
You absolutely cannot buy established root seedlings from a local nursery in tiny plastic cups. The exact moment the root tip hits the bottom of the nursery cup, the plant gets permanently stunted. You must sow the dry seeds directly into your final patio buckets to avoid this transplant shock.
The seeds look like tiny specks of brown dust and easily blow away in a strong wind. Sprinkle them gently across the damp soil surface and barely cover them with fine dirt. They need to sit just below the surface to push their fragile sprouts through easily.
A non-obvious trick for rapid germination
These specific seeds often take three agonizing weeks to sprout and must remain damp the entire time. A hot sunny afternoon dries the topsoil rapidly and kills the waking seed instantly. You can lock in the vital moisture by placing a solid piece of cardboard directly over the wet dirt.
This non-obvious trick blocks the harsh sun and traps the humidity right at the soil surface. Check underneath the cardboard every single morning to look for progress. The second you see tiny green sprouts, remove the cardboard completely so they get adequate sunlight.
The ruthless process of thinning your sprouts
Sprinkling tiny seeds means you always end up with fifty plants crammed into a tiny circle. You must thin the herd or the roots will literally strangle each other underground. Trying to grow carrots in containers without thinning results in tangled strings of orange skin rather than thick food.
Wait until the green tops stand about two inches tall before you start the thinning process. Leave exactly two inches of empty dirt space between every single remaining sprout. This gives the shoulders plenty of room to expand as the summer progresses.
Cutting instead of pulling
Never grab an extra sprout and pull it out of the dirt by brute force. The tangled roots will drag against the healthy neighbor and damage its delicate taproot permanently. Understanding 10 beginner gardening mistakes and how to fix them reminds you to always use scissors.
Take sharp snips and cut the unwanted green tops right at the soil line. The dead root simply rots away quietly underground and feeds the surviving plants. You protect the healthy crops and save yourself a massive headache.
Watering strategies to grow carrots in containers
Proper hydration determines the final texture and sweetness of your underground harvest. Dry soil turns the roots incredibly woody and gives them a harsh soapy flavor. You must keep the deep soil consistently moist throughout the entire summer season.
Water the buckets deeply until liquid actually pours out of the bottom drainage holes onto the concrete. Shallow watering only wets the top two inches and forces the roots to grow upward seeking moisture. You want the roots chasing the water deep into the bottom of the plastic bucket.
Managing hot afternoon sun
The green tops tolerate heat well but hot soil ruins the developing root trapped underground. Shift your buckets into a partially shaded spot when the brutal August temperatures finally arrive. A little afternoon shade keeps the potting mix cool and preserves the crisp texture of the vegetable.
The gardening experts at The Old Farmer’s Almanac recommend laying a thin layer of straw mulch around the green tops. This light blanket keeps the soil cool and drastically reduces rapid surface water evaporation.
How to fertilize while you grow carrots in containers
Root crops need heavy amounts of phosphorus to develop thick and dense underground stores. If your soil lacks phosphorus, the plants will just sit there and refuse to bulk up completely. A light dusting of organic bone meal mixed into the dirt before planting solves this issue perfectly.
Avoid applying any heavy liquid feeds during the middle of the growing season. The initial compost and bone meal provide all the required nutrients from the seed stage right up to harvest. Too much mid-season food actually causes the swelling roots to crack wide open underground.
Keeping the orange shoulders completely covered
As the roots swell, they often push themselves right out of the fluffy potting dirt. The top inch of the orange vegetable gets exposed to direct ultraviolet sunlight on your balcony. This intense sun exposure turns the top of the root green and makes it taste incredibly bitter.
Walk your patio weekly and push a little extra potting soil around the base of the green stems. Keeping the orange shoulders completely buried guarantees a sweet flavor from top to bottom. It takes five seconds and saves your crop from ruin.
Knowing exactly when to harvest your crop
You cannot see the actual food growing, which causes serious anxiety for many new patio farmers. You can check the root size by gently brushing the top dirt away with your index finger. This lets you inspect the actual diameter without actually pulling the plant out of the bucket.
Reviewing how to know when vegetables are ready to harvest helps you gauge physical maturity accurately. Most standard varieties take about seventy days to reach full size and maximum sweetness.
Harvesting safely without breaking the root
Never grab the green leafy tops and yank upward with all your physical strength. The green tops will snap right off and leave the orange root buried deep in the heavy dirt. You must loosen the surrounding soil first with your trusty eight dollar trowel.
Push the metal trowel down the side of the bucket and gently pry the dirt upward. The thick root will slide out perfectly whole once the tight soil pressure releases completely.
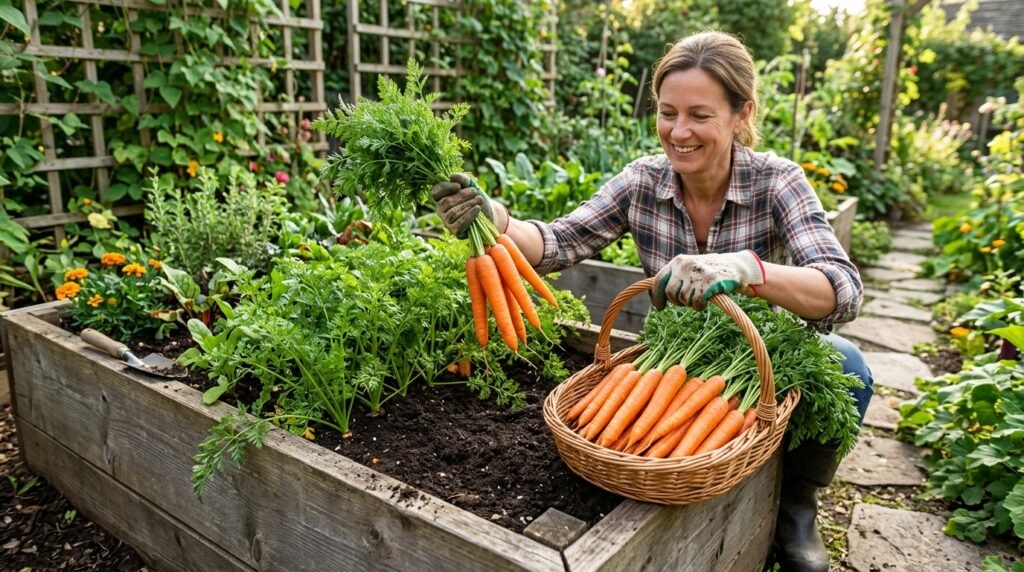
Storing the harvest after you grow carrots in containers
The green tops continue to suck moisture straight out of the orange root after you pick it. If you leave the leaves attached, your crisp vegetable turns limp and rubbery in just two days. You must cut the green tops off immediately after pulling the plant from the wet dirt.
Leave about half an inch of green stem attached to the top of the orange root. Wash the dirt off completely and store the dry vegetables in a sealed container in your refrigerator crisper drawer.
Enjoying the sweet autumn flavor
Here in Portland, I intentionally leave my final crop sitting in the buckets until late October. A light autumn frost forces the plant to produce massive amounts of natural sugars to survive the cold. The freezing weather creates the absolute sweetest vegetables you will ever eat in your life.
Growing food underground feels like a magic trick when you finally pull the finished product out into the light. You do not need a massive backyard plot filled with expensive raised beds to succeed at this. A cheap plastic bucket and a bag of fluffy potting mix provide absolutely everything you need. You just have to manage the soil moisture and be ruthless when thinning those tiny green sprouts. You can definitely grow carrots in containers and enjoy an incredibly sweet harvest right on your apartment balcony.